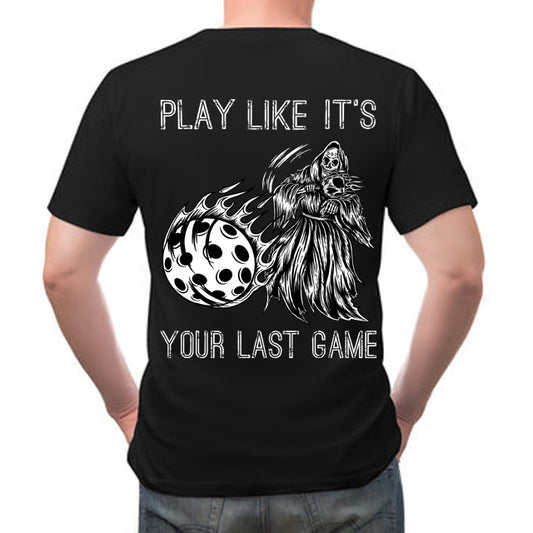
When I started playing pickleball in 2017, the first move I learned was how to smash the pickleball at my opponent. I was playing with my inexperienced family while on vacation. We were playing on the court, and there was no strategy. We took pointers from tennis to hit the ball hard over the net. The feeling of hitting the ball as hard as you can to force your opponent to make an error or think they are in a professional dodgeball match was exciting. Over the years, I perfected the smash and use it for 'shake and bakes' or 'put away' shots.
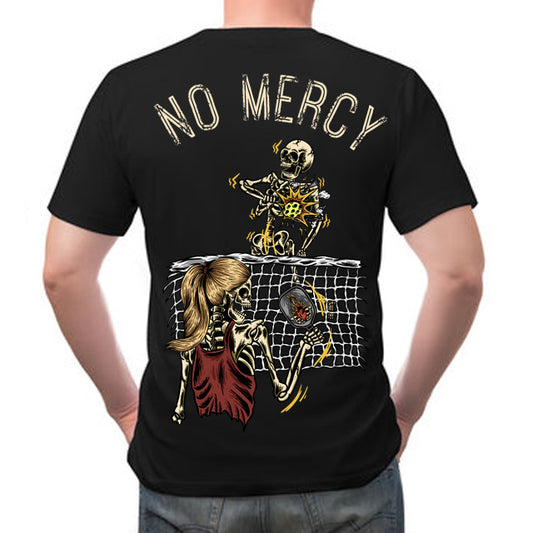
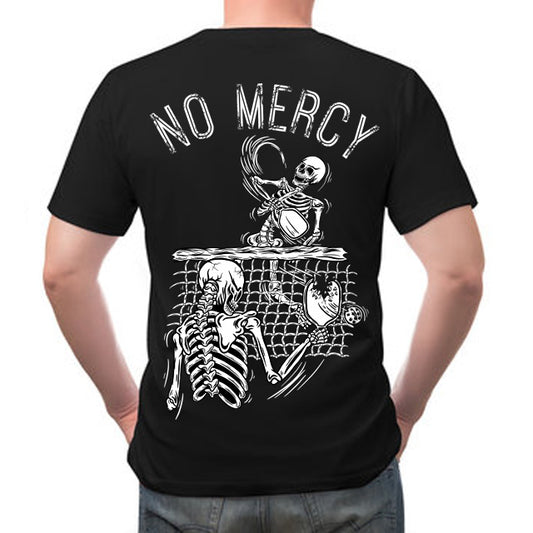
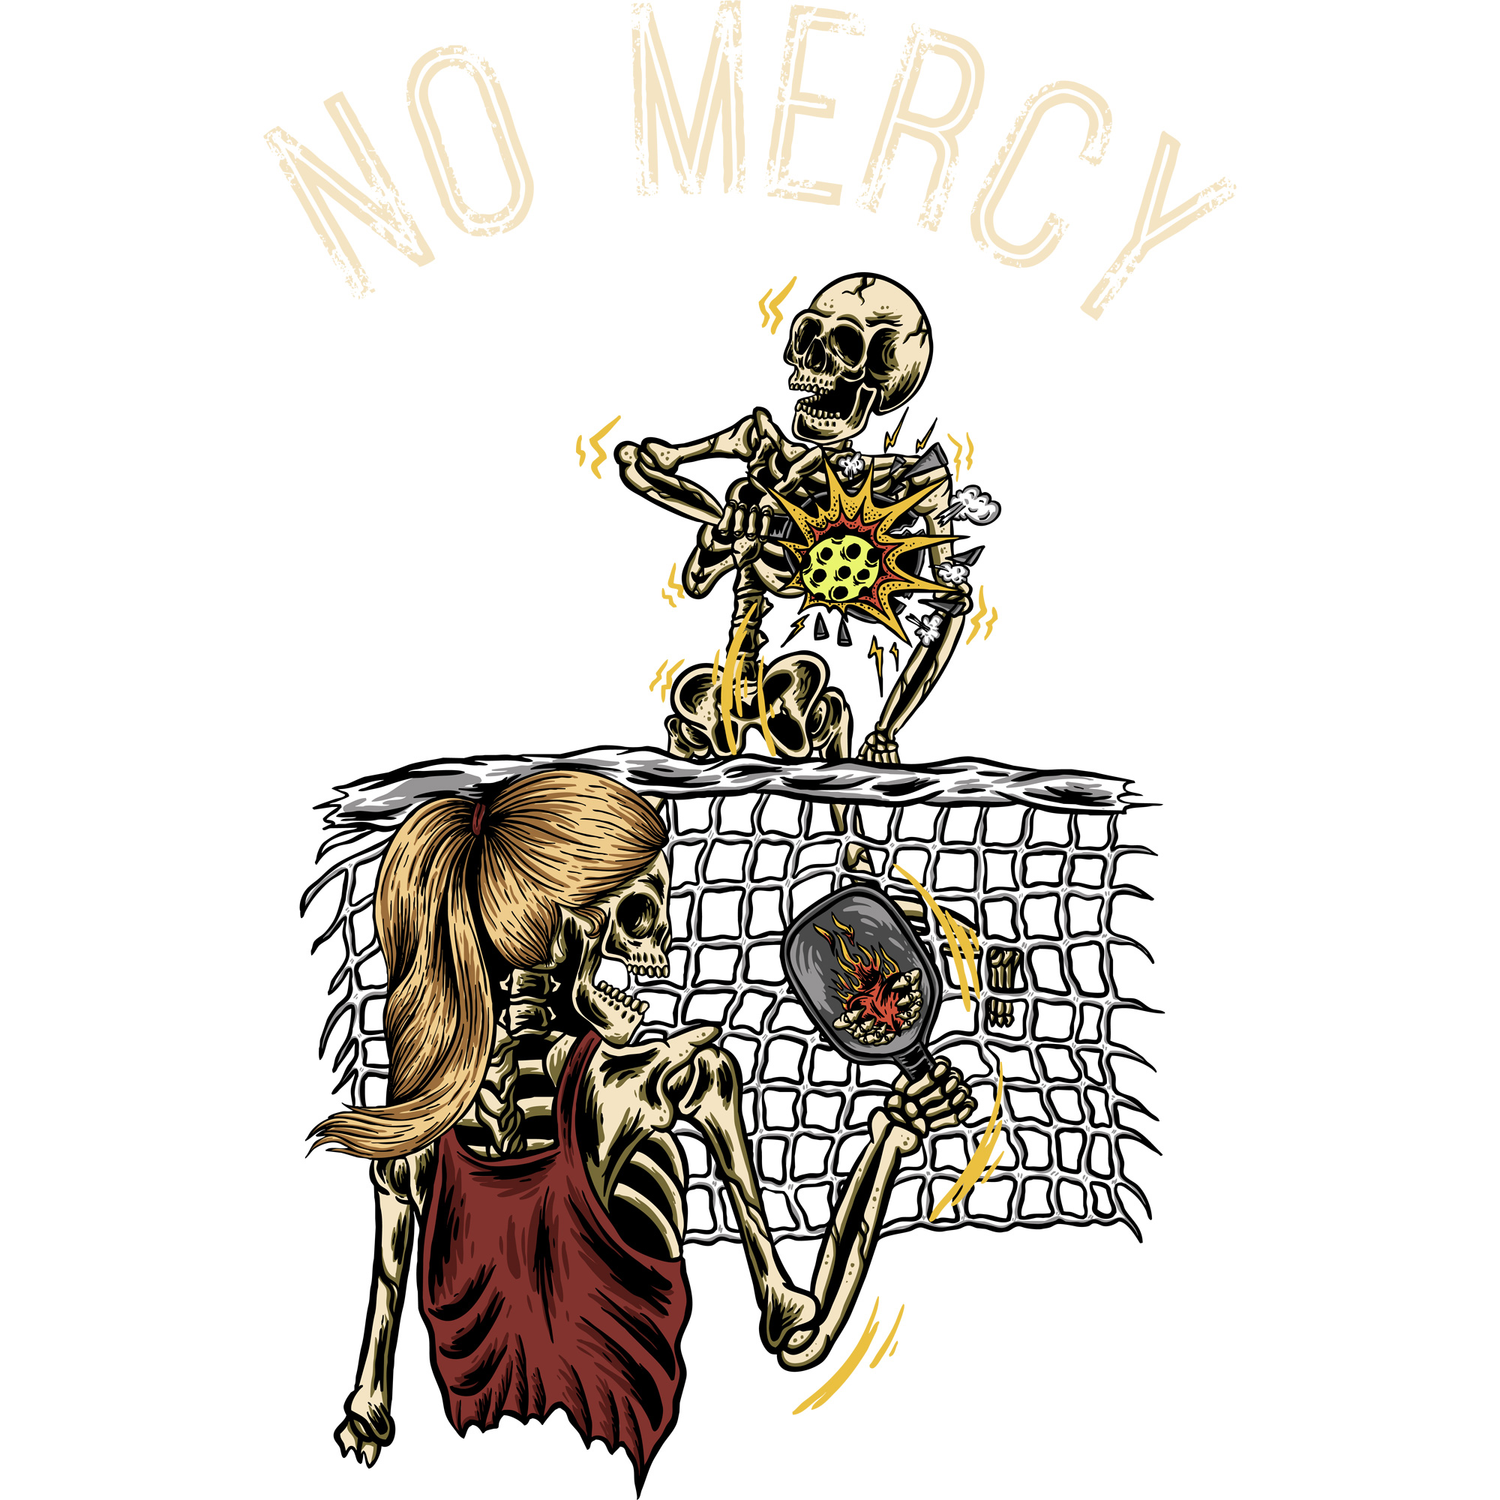
The 'No Mercy' design was inspired by the Karate Kid, Cobra Kai, and the way my brother David and I played pickleball. When I was building out the concept, I was thinking about different designs and actions that would capture key moments of a smash shot. I visualized my brother and me on the court playing against each other. The emotions poured out, and the anger took over. The skeleton smashing the ball is me, and the opponent is David.
After confirming the concept, I reached out to a designer who hand-draws detailed skeletons. The designer's first draft of the sketch of the moment of the 'No Mercy' shot was perfect. There were minimal updates completed from the first draft.

When I received the final version, I reached out to a friend that operates high-quality apparel factories. We discussed the Art and origin story of the brand. He was honored to be part of the story and offered to help with resources to get the brand off the ground.
There are many ways you can make apparel and go to market. RND Streetwear is a new brand. Typically, new brands, influencers, creators, and celebrities will leverage a merchandising company that creates high-quality apparel or print-on-demand services. For the past ten years, I created custom products for RND Power Solutions and high-quality cut-and-sew apparel for a merchandising company.
When I looked at the Pros and Cons of the different go-to-market strategies for apparel, I decided that quality and flexibility was the most important for the brand.
| Services | Pros | Cons |
| Print On-Demand |
|
|
| Local Screen Printing |
|
|
| Custom Cut-and-Sew |
|
|
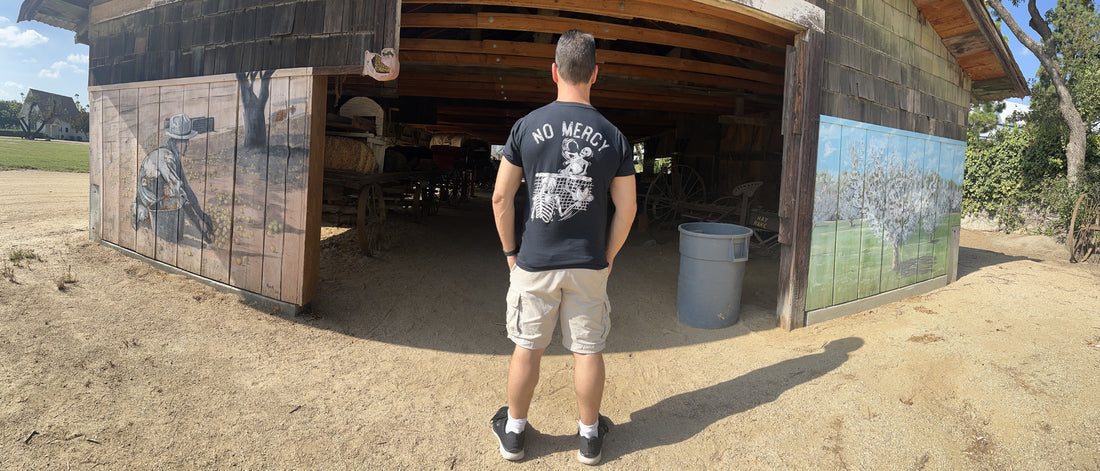
We picked the 'Custom Cut-and-Sew' option. This fits our brand and mission to provide flexibility and high-quality products.
We went into production with my friend's factory. I sent the design in Adobe Illustrator (AI) format. Some local print shops will only require a high-quality PNG and the print-on-demand services will take almost anything if it meets the image size requirements. The reason behind the AI file is that the file is vectorized and the factory will use the format to scale and get the best resolution of the graphic for the apparel. You will also provide the design on a Tech Pack detailing where the graphic will be placed on the garment and the size of the design. This is important to ensure the apparel is aligned with your vision and done correctly.
When the factory starts production, they will run one sample before mass production. They call this a 'Print Approval'. This is your chance to ensure that the print, size, and location are correct. If there are any changes in a print size or color corrections, this will incur an additional charge to create additional setups (Print Screens). I want to mention that the size of the graphic is based on the smallest size garment you are going to offer, typically 'Small'. Then the garment continues to get larger using the same print size/screens. When you start printing XL and larger, I would recommend creating additional screens to enlarge the print.
When you go into production, you will need to provide additional specifications on how the item is packed, labeled, and shipped. I recommend polybag individual items with barcodes with your GS1 or Item number, print your item description, and garment size. For every shipping box, have them label the products and quantities that are packed inside.
When they are shipping the products, make sure they are quoting a DDP service if shipping internationally. DDP is a service that prepaid duties and taxes. This will ensure you are not getting hit with a tax bill months later that you didn't expect.
Feel free to reach out to me at derek@rndstreetwear.com with any questions. I'm here to help you with your next big project and have the resources to spring board your brand to the next level.
~ Derek